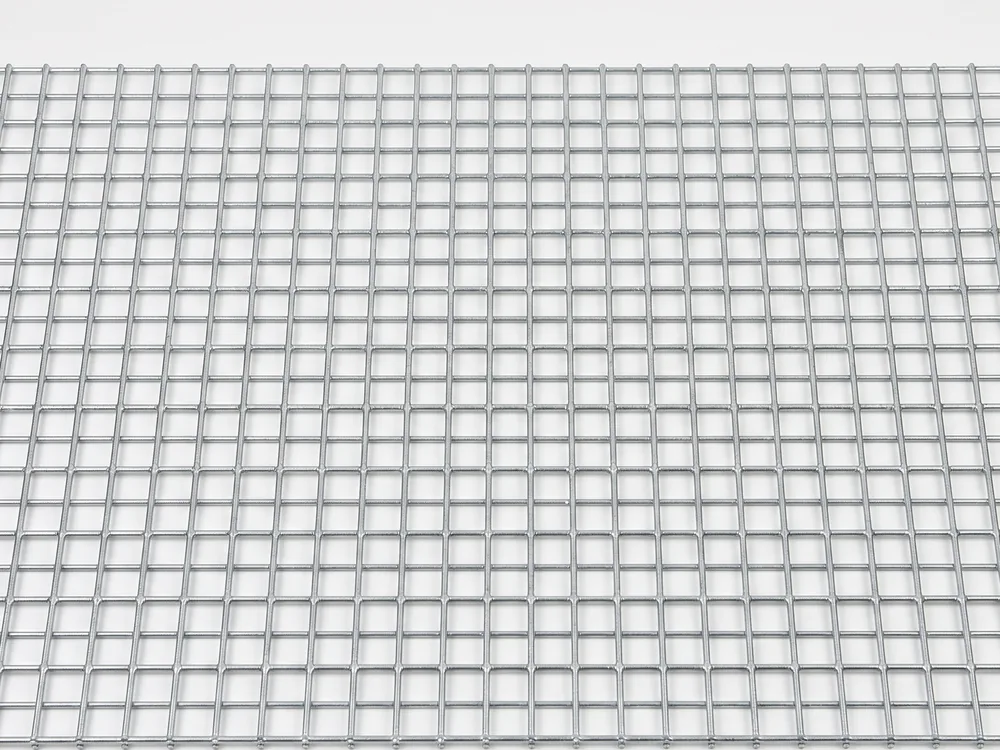
At Hebei Leeter Import and Export Co., Ltd ("Leeter"), a wire, mesh and rebar support manufacturer based in Dingzhou, Hebei since 2006, we supply crack control materials to contractors across North America and Europe. What follows reflects common practice and generic design principles, not any single national code. Always confirm details against your local code and the project engineer.
Why concrete cracks
Concrete cracks because it shrinks as it cures and moves as temperatures change, and because it is strong in compression but weak in tension. Cracking is normal, not a defect. The goal of crack control is not zero cracks. It is small, distributed cracks instead of a few wide, ugly ones.
There are several common causes, and understanding each helps you target the right fix.
Drying shrinkage
As mixing water leaves the concrete, the paste shrinks. A slab restrained by subgrade friction, columns or walls cannot shrink freely, so tension builds up. When that tension exceeds the concrete's low tensile strength, a crack forms. Drying shrinkage is the most common source of cracking in slabs on ground, and it develops over weeks and months, not just the first day.
Plastic shrinkage
Plastic shrinkage cracks appear within hours of placing, while the concrete is still fresh. They happen when the surface loses water faster than bleed water rises, usually on hot, dry or windy days. These cracks are shallow and random. Good curing, wind breaks and evaporation retarders prevent most of them, and this is the one crack type where synthetic micro-fibers genuinely help — see fiber mesh vs welded wire mesh for where fibers do and do not replace steel.
Thermal movement
Concrete expands when it warms and contracts when it cools. A slab poured in summer and used through winter can shrink measurably. Large temperature swings, thick sections that heat up during curing, and exposed exterior slabs all raise the risk. Reinforcement and joints absorb this movement.
Settlement and overload
If the subgrade is soft or poorly compacted, part of the slab settles and cracks. Loads heavier than the design assumption crack it too. These are structural problems, and no amount of shrinkage reinforcement fixes a bad base. Compaction and correct thickness come first.
What does crack control reinforcement actually do
Crack control reinforcement does not stop cracks from starting. It holds cracks tightly closed after they form, so aggregate interlock is kept and the crack stays narrow and stable. Steel has far higher tensile strength than concrete, so once a crack opens, the mesh or rebar crossing it carries the tension and prevents the gap from widening.
This is why the distinction matters. In an unreinforced slab on ground, a shrinkage crack can open several millimetres wide and let water, salt and dirt in. In a reinforced slab, the same shrinkage produces many hairline cracks held tight by the steel. The concrete still cracks. The cracks just stay harmless.
Two materials do this job in flatwork: welded wire mesh and reinforcing bar. They are not interchangeable in every case, and the choice depends on slab thickness, loading and budget.
Welded wire mesh versus rebar for crack control
Welded wire mesh and rebar both hold shrinkage cracks tight, but they suit different jobs. Mesh is efficient and fast for thin, lightly loaded slabs. Rebar is stronger and better for thick, heavily loaded slabs or where structural capacity is needed. Many projects use both: mesh for shrinkage in the topping, rebar for structural bands.
The table below compares the two for typical slab-on-ground work.
| Factor | Welded wire mesh | Reinforcing bar (rebar) |
|---|---|---|
| Best slab thickness | Thin to medium (roughly 100-150 mm) | Medium to thick, or structural |
| Primary role | Distributes shrinkage and thermal stress | Structural capacity plus crack control |
| Installation speed | Fast; sheets or rolls cover large areas | Slower; tie individual bars into a grid |
| Spacing consistency | Factory-welded, uniform openings | Depends on placer's tying accuracy |
| Load capacity | Lower | Higher |
| Typical use | Driveways, footpaths, light floors | Suspended slabs, industrial floors, foundations |
Sheet mesh is generally preferred over rolled mesh for slabs because it lies flat and keeps its position, while rolled mesh wants to curl back and is harder to keep at the correct height. For most residential and light commercial flatwork, a welded mesh sheet at the right depth handles shrinkage well.
Why mesh and rebar position on chairs matters
Reinforcement only controls cracks if it sits in the correct part of the slab, and that means placing it in the upper third for shrinkage control, supported on rebar chairs or bar supports. Steel lying on the ground does nothing for surface cracking. This is the single most common site mistake we see reported by contractors.
Here is the logic. Drying shrinkage and thermal contraction pull hardest at the top surface, which dries first and fastest. Reinforcement needs to be near that surface, while still keeping enough cover to protect the steel from corrosion. If the mesh is dragged up into position after the pour has started, or simply thrown on the subgrade and "hooked up" by a boot, it ends up at the bottom where it cannot restrain the cracks that matter.
Chairs and bar supports fix this. They hold the mesh or bar at a set height for the whole pour, so the steel stays in the design position while the crew places and screeds. Space the supports closely enough that the mesh does not sag between them under foot traffic. The exact cover and height depend on slab thickness and exposure, so follow the drawings.
Cover, the quiet requirement
Cover is the concrete between the steel and the nearest surface. Too little cover and the steel corrodes, rust expands, and the slab spalls. Too much cover and the steel sits too deep to control surface cracks. Chairs of the correct height give repeatable cover across the whole slab, which hand placement cannot match.
How control joints share the work
Control joints are planned weak lines that tell the slab where to crack, so the crack hides inside a straight, tooled groove instead of wandering across the surface. They are the second half of crack control and work hand in hand with reinforcement. Reinforcement keeps cracks tight; joints keep them straight and hidden.
A control joint is cut or tooled to roughly a quarter of the slab depth. This thins the section so shrinkage tension concentrates there and cracks below the groove, out of sight. Cut them early, before random cracking starts, using either a tooled joint while the concrete is fresh or an early-entry saw once it has set enough.
Joint spacing
Joint spacing is limited by slab thickness. A common rule of thumb is to space joints in feet at no more than about 2 to 3 times the slab thickness in inches, and to keep panels reasonably square. A 100 mm (4 inch) slab, for example, points to joints roughly every 2.4 to 3 metres. Long thin panels crack across the middle, so aim for length-to-width ratios near 1 to 1 and no worse than about 1.5 to 1.
Isolation and construction joints
Isolation joints separate the slab from columns, walls and footings so each can move independently. Construction joints are the planned stops between pours. Both need thought, because a rigid connection at a wall or column becomes a restraint point, and restraint is exactly what drives cracking. Keep the slab free to shrink.
Putting the system together
Good concrete crack control is a system, not a single product. Reinforcement, joints and concrete practice each cover a weakness the others cannot. Skip one and the slab finds the gap.
A sound approach on a typical slab on ground looks like this. Start with a well compacted, uniform subgrade so there is no settlement. Use a concrete mix with a sensible water content, since more water means more shrinkage. Place welded mesh or rebar in the upper part of the slab on chairs at the correct height. Cut control joints early at the right spacing. Then cure the slab properly, keeping it moist so the surface does not dry too fast.
The mix and curing matter more than many crews expect. A wet, high-slump mix shrinks more and cracks more, whatever steel you put in it. Slow, moist curing lets the concrete gain strength before shrinkage tension peaks, which means fewer and tighter cracks. Reinforcement is not a licence to cut corners on the basics.
One honest caveat: even a perfect job produces some cracks. That is the nature of the material. Crack control aims for cracks that are tight, at the joints, and structurally harmless, not for a flawless surface. Setting that expectation with a client up front saves a lot of difficult conversations later.
Choosing and sourcing materials
Match the material to the slab. For thin flatwork, welded wire mesh in flat sheets, supported on chairs, is fast and effective. For thick or heavily loaded slabs, size the rebar to the engineer's design and support it on bar chairs of the correct height. Whatever you choose, budget for enough supports, because they are cheap compared with the cost of a slab full of wide cracks.
If you are unsure which mesh size or chair height fits your slab, request a quote and describe the slab thickness, loading and exposure. We can advise on mesh specification, sheet sizes and matching supports for the position your design needs.
Frequently asked questions
Does welded wire mesh stop concrete from cracking?
No. Welded wire mesh does not prevent cracks; it controls them. Concrete still cracks from drying shrinkage and thermal movement, but mesh crossing each crack holds it tightly closed. The result is many hairline cracks instead of a few wide ones. Correct mesh position in the upper slab is essential for this to work.
Where should mesh or rebar sit in a slab?
For shrinkage crack control, reinforcement belongs in the upper third of the slab, close to the drying surface but with enough cover to protect the steel from corrosion. Support it on rebar chairs or bar supports so it stays at that height during the pour. Steel resting on the subgrade does almost nothing for surface cracking.
How far apart should control joints be?
A common rule of thumb spaces joints in feet at no more than 2 to 3 times the slab thickness in inches, with panels kept close to square. A 100 mm slab points to joints roughly every 2.4 to 3 metres. Cut joints early, to about a quarter of the slab depth, before random cracking starts. Always follow the project drawings.
Do I need both mesh and control joints?
Yes, on most slabs. They do different jobs. Reinforcement holds cracks tight and narrow, while control joints decide where cracks appear and hide them in a tooled groove. Using one without the other gives worse results: joints alone allow wide cracks, and mesh alone allows random cracks across the surface.
Can concrete practice reduce cracking on its own?
Good practice reduces cracking a great deal but cannot replace reinforcement and joints. A lower water content, a well compacted subgrade and slow moist curing all cut shrinkage and its stresses. Combined with correctly placed steel and properly spaced joints, these steps give tight, predictable cracks. Skipping the basics undermines even the best reinforcement.
Crack control is a system of steel position, joint layout and concrete practice working together. Get the subgrade, mix, curing and reinforcement height right, and cracks stay tight and predictable. To match mesh, rebar and supports to your slab design, contact our team with your project details and we will help you specify the right materials.
